Nextcloud tem funcionalidade muito semelhante ao Dropbox, com a diferença de ser código aberto, e assim permitir que qualquer pessoa instalar e operá-lo sem custo em um servidor privado. Nextcloud é um fork do projeto ownCloud.
Requisito:
1- Debian 10 Stretch / Instalação Limpa
2- Passo-a-passo como criar um servidor WEB Apache + PHP + MariaDB + phpMyAdmin no Debian 10 Buster “LAMP”
Instalação do PHP 7.3 (Requisito)
Instalação do MariaDB 10.3 (Requisito)
Instalação do Apache 2.4 (Requisito)
phpMyAdmin :: (Opcional)
Para a instalação irei configurar um domínio virtual no apache. Leia para entender mais sobre domínios virtuais:
Como ter diversos sub/domínios no mesmo servidor? (Domínios virtuais com Apache2)
Tenha então em seu servidor DNS a configuração do host cloud (ou nome que você preferir) apontando para o IP de seu servidor.
Instalamos mais algumas extensões necessárias do PHP e o redis para fazer caching da memória.
# apt install php-fpm php-pclzip php-xmlrpc php-imagick php-redis redis-server php-memcached php-apcu php-imap php-ldap php-intl
# usermod -a -G redis www-data
Altere o limite de memória do PHP para pelo menos 512M
# sed -i 's/memory_limit = 128M/memory_limit = 512M/' /etc/php/7.3/fpm/php.ini
Desativamos/Ativamosos mods necessários.
# a2enmod proxy_fcgi setenvif mpm_event rewrite headers http2
# a2dismod php7.3
# a2enconf php7.3-fpm
# systemctl enable php7.3-fpm
# systemctl restart php7.3-fpm
# systemctl restart apache2
Criamos o arquivo que vai representar o host cloud. Vou utilizar como base o diretório /var/www/cloud que vamos criar em seguida.
Não vou entrar em detalhes da criação das configurações, pois basta ler o tutorial citado.
# vim /etc/apache2/sites-available/cloud.conf

<virtualhost *:80>
        Protocols h2 http/1.1
        ServerName cloud.remontti.com.br
        ServerAdmin noc@remontti.com.br

        DocumentRoot /var/www/cloud

        <IfModule mod_headers.c>
          Header always set Strict-Transport-Security "max-age=15552000; includeSubDomains"
        </IfModule>

        <directory /var/www/cloud/ >
                Options FollowSymLinks
                AllowOverride All
        </directory>

        LogLevel warn
        ErrorLog ${APACHE_LOG_DIR}/error_cloud.log
        CustomLog ${APACHE_LOG_DIR}/access_cloud.log combined
</virtualhost>
# a2ensite cloud
# systemctl restart apache2
# mkdir /var/www/cloud
Para ficar bacana vamos obter um certificado grátis com o Let’s Encrypt. Leia o tutorial: Criando certificado grátis com Let’s Encrypt para o Apache no Debian 10
# su -
# apt update
# apt upgrade
# apt install letsencrypt python-certbot-apache
# systemctl stop apache2
# letsencrypt --authenticator standalone --installer apache -d cloud.remontti.com.br
Saving debug log to /var/log/letsencrypt/letsencrypt.log
Plugins selected: Authenticator standalone, Installer apache
Enter email address (used for urgent renewal and security notices) (Enter 'c' to
cancel): noc@remontti.com.br

- - - - - - - - - - - - - - - - - - - - - - - - - - - - - - - - - - - - - - - -
Please read the Terms of Service at
https://letsencrypt.org/documents/LE-SA-v1.2-November-15-2017.pdf. You must
agree in order to register with the ACME server at
https://acme-v02.api.letsencrypt.org/directory
- - - - - - - - - - - - - - - - - - - - - - - - - - - - - - - - - - - - - - - -
(A)gree/(C)ancel: A

- - - - - - - - - - - - - - - - - - - - - - - - - - - - - - - - - - - - - - - -
Would you be willing to share your email address with the Electronic Frontier
Foundation, a founding partner of the Let's Encrypt project and the non-profit
organization that develops Certbot? We'd like to send you email about our work
encrypting the web, EFF news, campaigns, and ways to support digital freedom.
- - - - - - - - - - - - - - - - - - - - - - - - - - - - - - - - - - - - - - - -
(Y)es/(N)o: N
Obtaining a new certificate
Performing the following challenges:
http-01 challenge for cloud.remontti.com.br
Waiting for verification...
Cleaning up challenges
Created an SSL vhost at /etc/apache2/sites-available/cloud-le-ssl.conf
Enabled Apache socache_shmcb module
Enabled Apache ssl module
Deploying Certificate to VirtualHost /etc/apache2/sites-available/cloud-le-ssl.conf
Enabling available site: /etc/apache2/sites-available/cloud-le-ssl.conf

Please choose whether or not to redirect HTTP traffic to HTTPS, removing HTTP access.
- - - - - - - - - - - - - - - - - - - - - - - - - - - - - - - - - - - - - - - -
1: No redirect - Make no further changes to the webserver configuration.
2: Redirect - Make all requests redirect to secure HTTPS access. Choose this for
new sites, or if you're confident your site works on HTTPS. You can undo this
change by editing your web server's configuration.
- - - - - - - - - - - - - - - - - - - - - - - - - - - - - - - - - - - - - - - -
Select the appropriate number [1-2] then [enter] (press 'c' to cancel): 2

- - - - - - - - - - - - - - - - - - - - - - - - - - - - - - - - - - - - - - - -
Congratulations! You have successfully enabled https://cloud.remontti.com.br

You should test your configuration at:
https://www.ssllabs.com/ssltest/analyze.html?d=cloud.remontti.com.br
- - - - - - - - - - - - - - - - - - - - - - - - - - - - - - - - - - - - - - - -

IMPORTANT NOTES:
 - Congratulations! Your certificate and chain have been saved at:
   /etc/letsencrypt/live/cloud.remontti.com.br/fullchain.pem
   Your key file has been saved at:
   /etc/letsencrypt/live/cloud.remontti.com.br/privkey.pem
   Your cert will expire on 2019-12-16. To obtain a new or tweaked
   version of this certificate in the future, simply run certbot again
   with the "certonly" option. To non-interactively renew *all* of
   your certificates, run "certbot renew"
 - Your account credentials have been saved in your Certbot
   configuration directory at /etc/letsencrypt. You should make a
   secure backup of this folder now. This configuration directory will
   also contain certificates and private keys obtained by Certbot so
   making regular backups of this folder is ideal.
 - If you like Certbot, please consider supporting our work by:

   Donating to ISRG / Let's Encrypt:   https://letsencrypt.org/donate
   Donating to EFF:                    https://eff.org/donate-le
Acesse seu domínio com https e o mesmo já deve estar prontinho para o Nextcloud.
Não esqueça de criar o script para renovar seu certificado
Finalmente vamos a instalação do Nextcloud! Na data de hoje (set/2019) o projeto se encontra na versão 16.0.4.
# apt install unzip wget
# cd /tmp/
# wget https://download.nextcloud.com/server/releases/nextcloud-16.0.4.zip
# unzip nextcloud-*.zip
# rm -rf /var/www/cloud/
# mv nextcloud /var/www/cloud
# chown www-data. /var/www/cloud -R
Crie o banco de dados chamado nextcloud e defina sua senha. Use o gerador de senhas!
# mariadb -uroot -p -e\
 "CREATE DATABASE nextcloud character set utf8 collate utf8_bin;\
  GRANT ALL PRIVILEGES ON nextcloud.* TO 'nextcloud'@'localhost' IDENTIFIED BY 'SUA_SENHA';"
Abra agora em seu navegador https://cloud.dominio.com.br e colocar as informações para criar sua conta de administrador, e para conexão com o banco de dados.
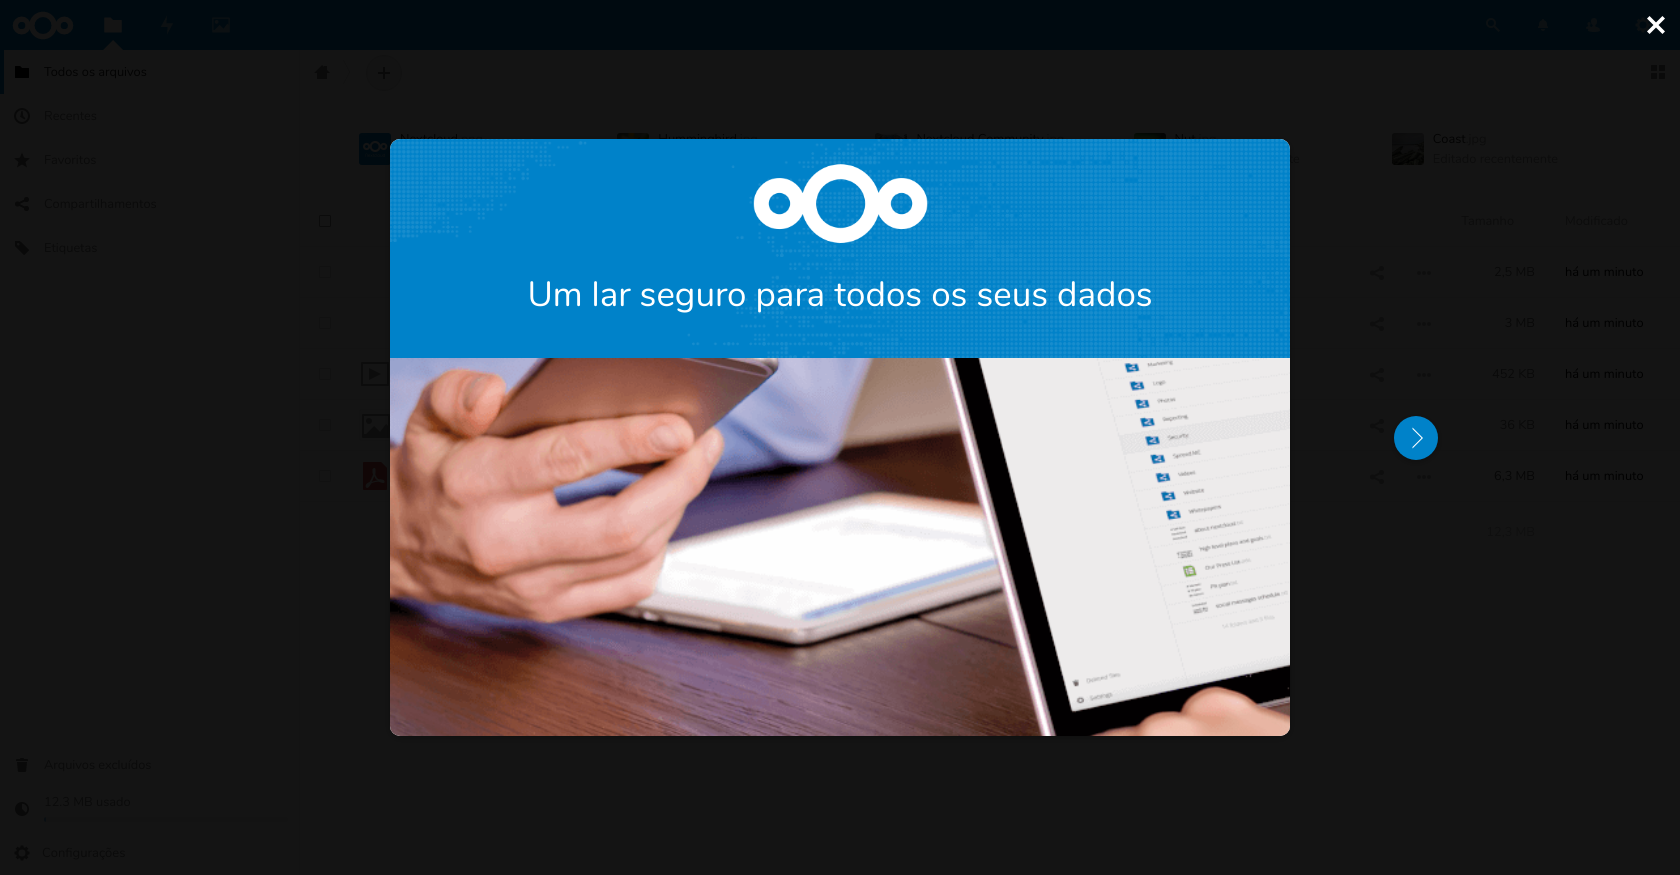
Clique em concluir configurações e aguarde o Nextcloud fazer a instalação.
Ao concluir você a seguinte tela ira aparecer:
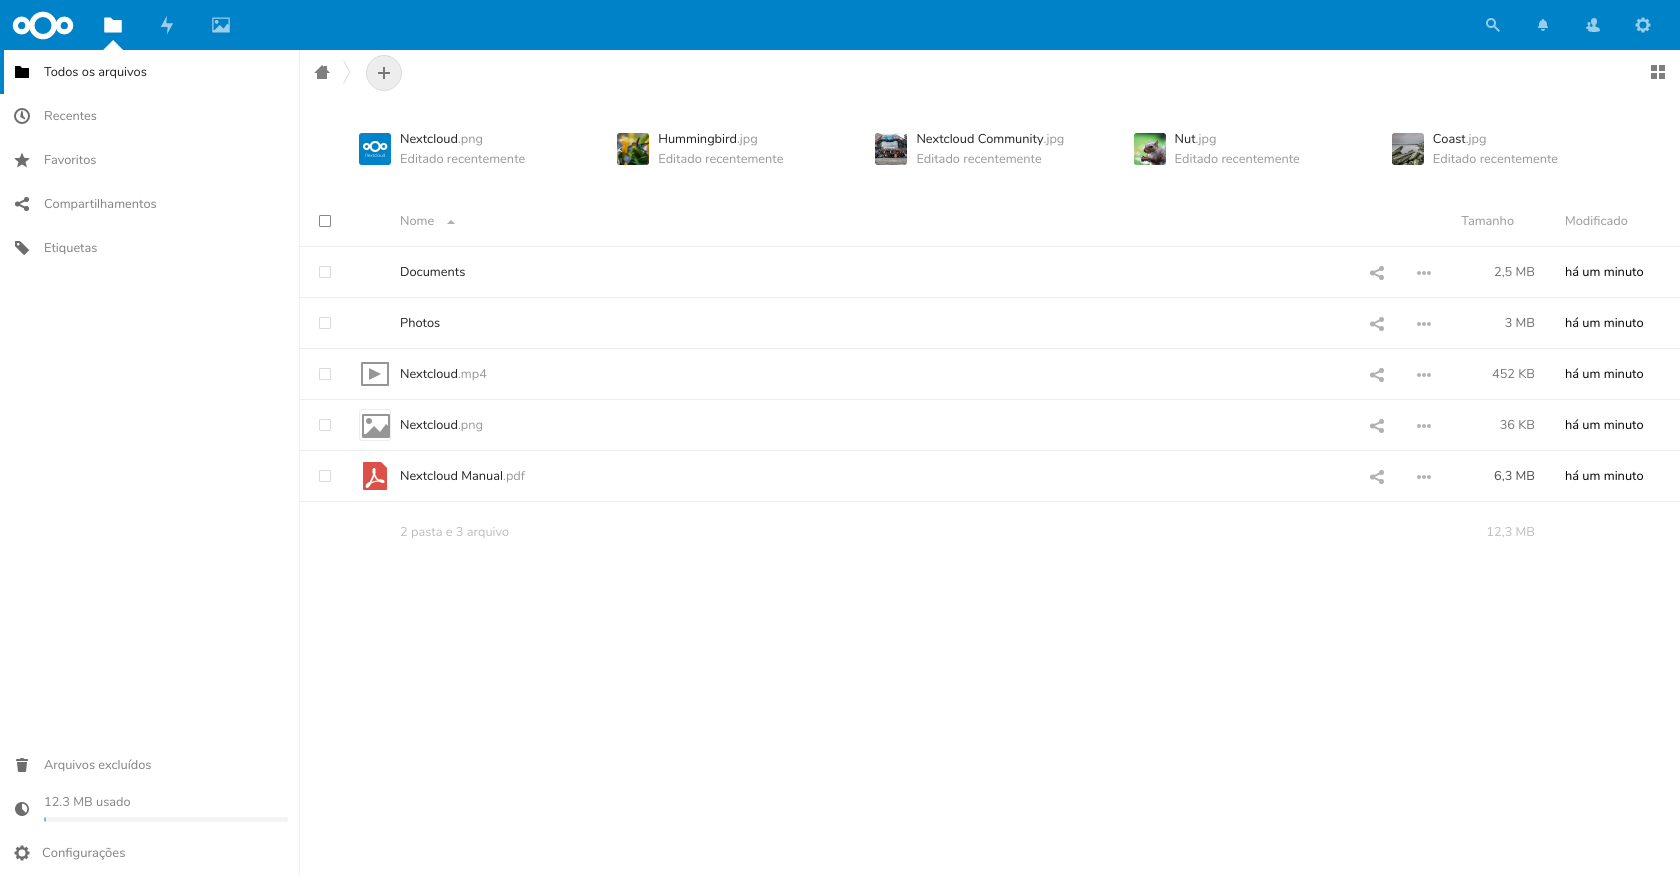
Para não criar toda vez que adicionar um novo usuario esses arquivos padrões que para mim é só lixo, edite o config.php e adicione ‘skeletondirectory’ => ”, aproveitando já adicionamos os idiomas defaults e configuramos o mamcache.
# vim /var/www/cloud/config/config.php
Adicione a baixo de ‘installed’ => true,
  'default_language' => 'pt-BR',
  'default_locale' => 'pt_BR',
  'skeletondirectory' => '',
  'memcache.local' => '\\OC\\Memcache\\APCu',
  'memcache.distributed' => '\\OC\\Memcache\\Redis',
  'redis' =>
  array (
    'host' => 'localhost',
    'port' => 6379,
  ),
Ficando:
<?php
$CONFIG = array (
'instanceid' => 'xxxxxxxxxxxxxxxxxxxx',
'passwordsalt' => 'xxxxxxxxxxxx+xxxxxxxxxxxxx',
'secret' => 'xxxxxxxxxxxxxxxxxxxxxxxxxxxxxxxxxxxxxx',
'trusted_domains' =>
array (
0 => 'cloud.remontti.com.br',
),
'datadirectory' => '/var/www/cloud/data',
'dbtype' => 'mysql',
'version' => '16.0.4.1',
'overwrite.cli.url' => 'https://cloud.remontti.com.br',
'dbname' => 'nextcloud',
'dbhost' => 'localhost',
'dbport' => '',
'dbtableprefix' => 'oc_',
'mysql.utf8mb4' => true,
'dbuser' => 'nextcloud',
'dbpassword' => 'xxxxxxxxxxxxxxxxxxxx',
'installed' => true,
'default_language' => 'pt-BR',
'default_locale' => 'pt_BR',
'skeletondirectory' => '',
'memcache.local' => '\\OC\\Memcache\\APCu',
'memcache.distributed' => '\\OC\\Memcache\\Redis',
'redis' =>
array (
'host' => 'localhost',
'port' => 6379,
),
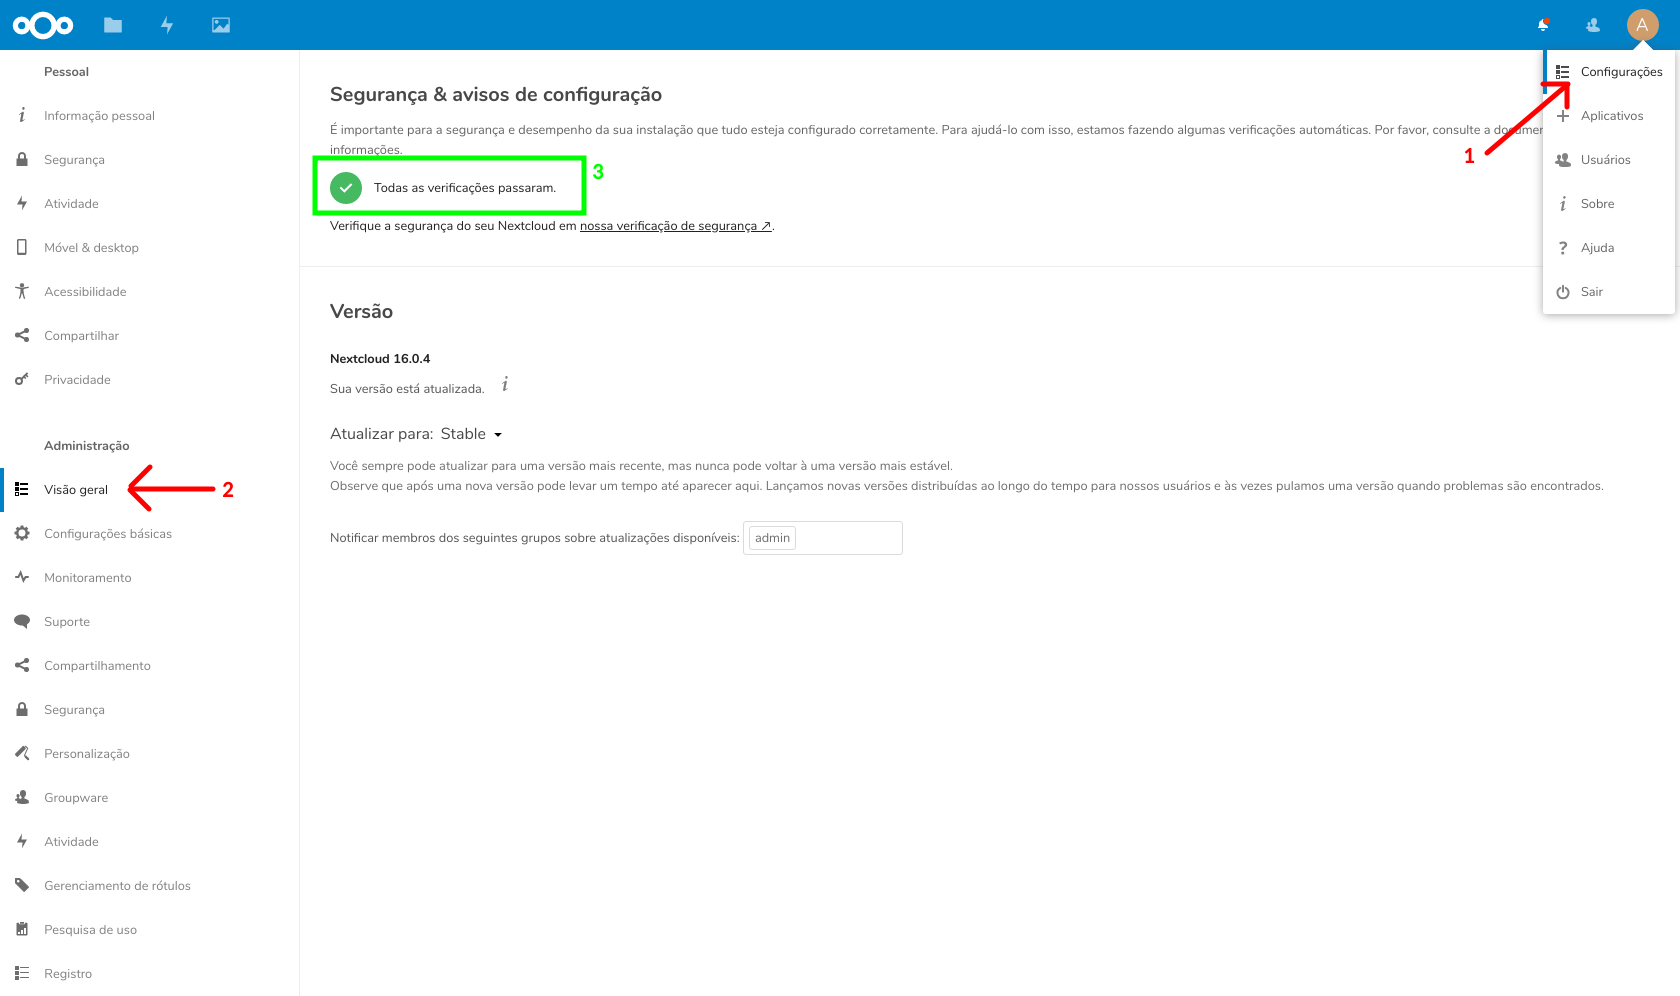
);Acesse o menu de Configurações e em seguida o menu Visão Geral e certifique-se que está tudo ok!
Faça um testes em:
https://scan.nextcloud.com/
https://tools.keycdn.com/http2-test
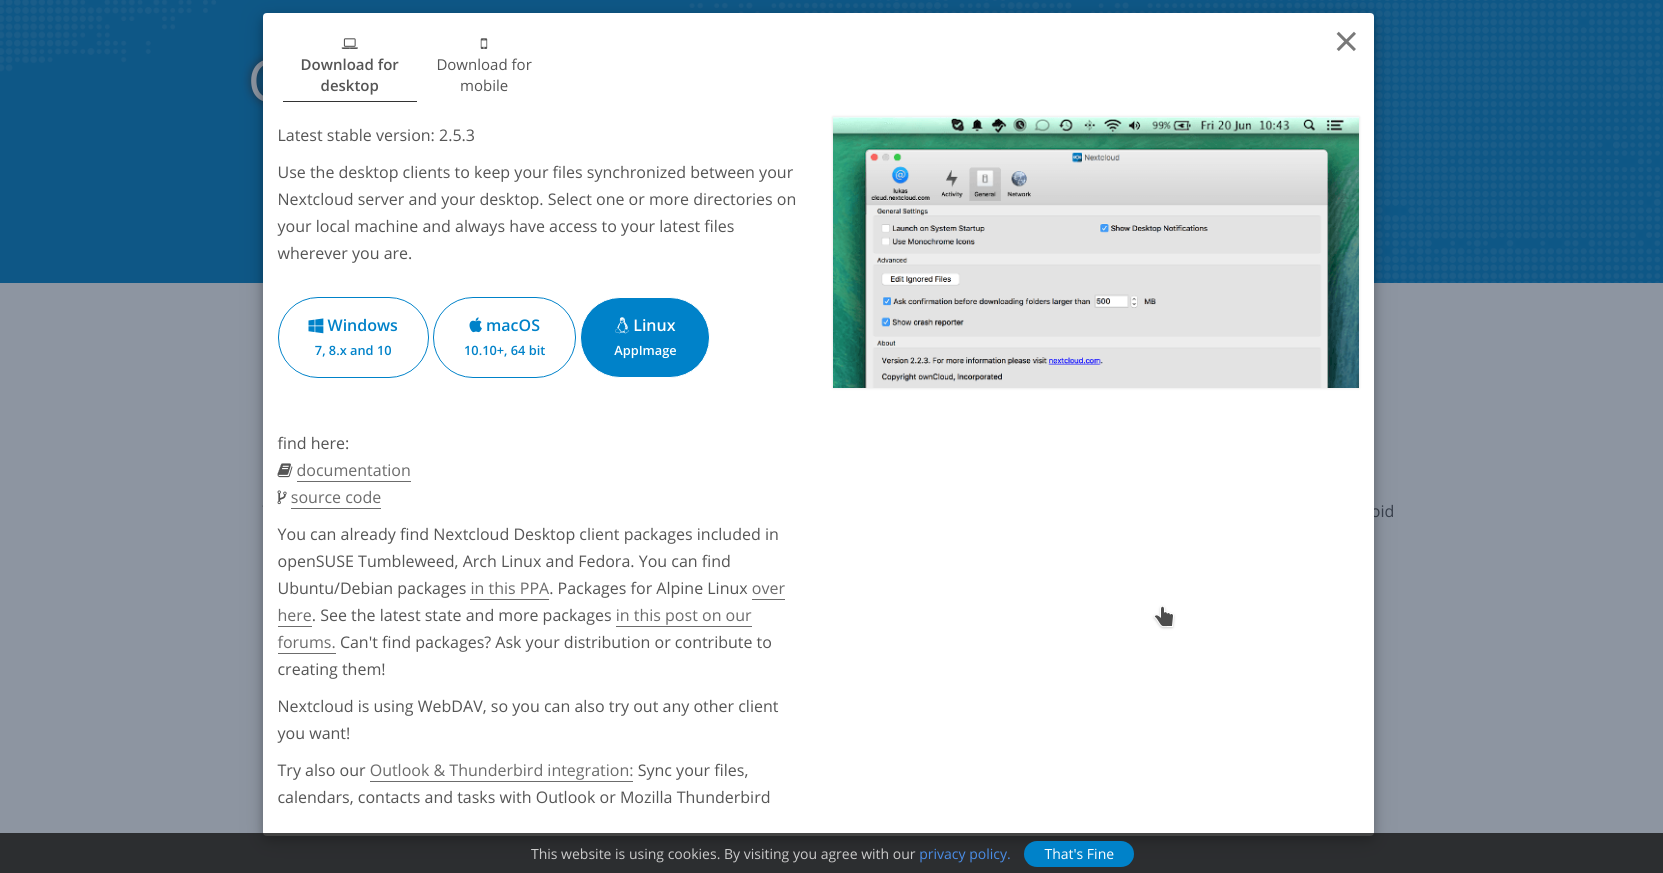
Se desejar pode instalar as versões desktop ou mobile.
Outras melhorias que podem ser aplicadas.
| # vim /etc/mysql/conf.d/mysql.cnf |
| [mysqld] innodb_buffer_pool_size=1G innodb_io_capacity=4000 |
| # vim /etc/php/7.3/fpm/conf.d/10-opcache.ini |
; configuration for php opcache module
; priority=10
zend_extension=opcache.so

opcache.enable=1
opcache.enable_cli=1
opcache.interned_strings_buffer=8
opcache.max_accelerated_files=10000
opcache.memory_consumption=256
opcache.save_comments=1
opcache.revalidate_freq=1| # systemctl restart php7.3-fpm apache2 |
Fonte: https://docs.nextcloud.com/server/16/admin_manual/installation/
Comments are closed